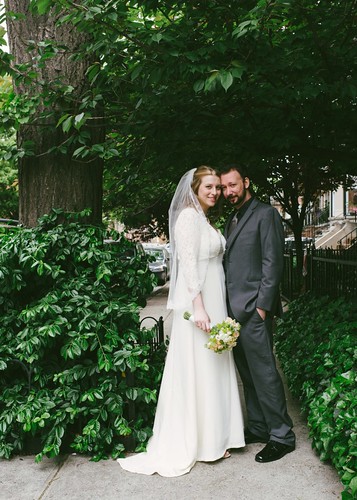
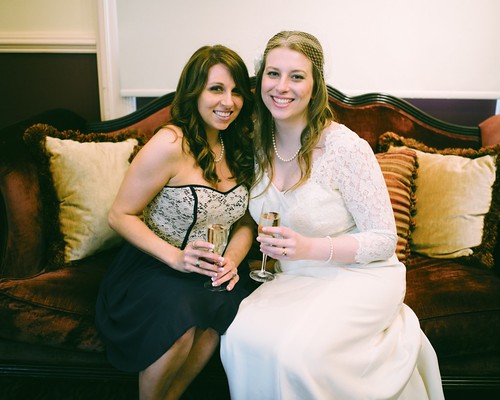
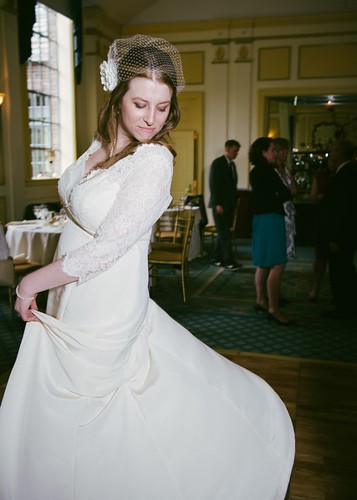
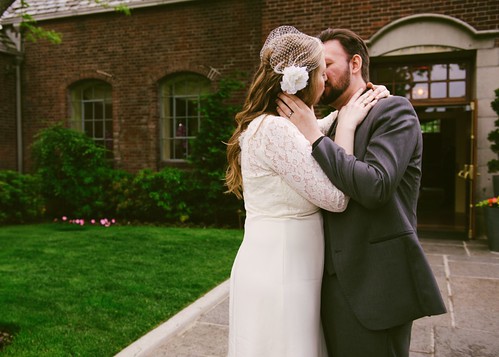
Recently I got married. What that really mean is, I recently had an excuse to make an epic dress for myself. YES, I MADE MY OWN WEDDING DRESS! And here are 10 things you might like to know about it....
1) Shopping for and trying on RTW gowns was a good idea.
Along with my sister and my MIL, I brought two level headed friends who know me and my personal style well. I tried on 5 dresses at Kleinfelds with the help of their wonderful sales associates and was able to determine which silhouettes looked best on me and I got an idea of what dresses in my “budget” looked like. (The “budget” was 6 times what I planned to spend on materials) This helped keep things in perspective later as I decided on a pattern and purchased materials.
2) I couldn’t commit to making my dress and going to the gym every day.
I decided that having a dress that fits me perfectly was a more reasonable goal than trying to lose 15 lbs and squeeze my chest into a ready made gown. I wish I’d realized this sooner because I would have started making the muslins a lot sooner as well!
3) The design process took a lot longer than expected.
I had a lot of design inspiration and a stack of commercial patterns to choose from. I knew that I wanted a slim skirt with a puddle train, long or ¾ length sleeves and as much lace as I could afford (not much). Originally I thought would combine design details from several patterns but the early muslins where not encouraging. After making muslins for 3 different patterns I was getting a little nervous because I didn’t know what my dress would actually look like. Then at what seemed like the last minute I found a new dress pattern by Simplicity (1909) that pretty much nailed my requirements and I wouldn’t have to change the design at all. I paid full price for the pattern and got right to work cutting a muslin with substitute lace and everything.
4) It helped to have a sewing-savvy friend to be a technical consultant.
My friend
Sara is a recent Parsons grad and a knitting buddy. She comes over weekly for TV and wine so she was the perfect person to help me with the fine tuning of the pattern fit and to go with me to try on commercial dresses. She knew precisely what I was going for in style and fit and she knows quite a bit about sewing. It was immensely helpful to have her check in and see the dress progress on a near weekly basis. My coworker Julisa was also able to provide similar advice when needed. I work in the fashion industry as a technical designer and I did most of my pattern corrections and all of my fabric cutting at work on the large cutting tables. Julisa was often there to confirm my layout and cutting methods as well as help fit some of my first muslins.
5) I kept is simple (as much as possible).
I wisely picked a design that would not be a too complicated. It was a fitted but not overly structured design well within my experience level. I think the pattern choice was perfect. I researched couture sewing methods, but I wasn’t afraid to take make time saving choices about construction. There was one point when I started to make it into more of science project than necessary…While shopping for organza at Mood I ran into a coworker who was a contestant in Project Runway Season 10 and specializes in evening gowns. I told him about my plans briefly and asked him if he had any advice. He said something along the lines of “The foundation is everything! Use sew-through boning on your foundation!” Well, a corselet was not an original part of the pattern design, but Susan Khalje and half the wedding dress sewing blog-averse made them so I went ahead and purchased sturdy cotton muslin and all the boning and hook/eye tape I would need, but in the end I didn’t love the restricting fit and it was causing a bit of construction order confusion. Another friend asked if a corselet was truly necessary and wisely suggested that I leave it out in favor of good foundation garments. I took her advice and it got me back on track.
6) DIY Accountability.
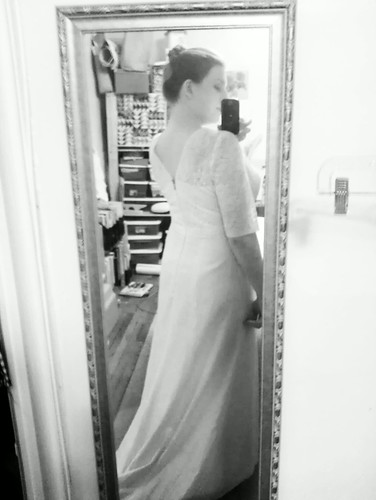
While I was working on the actual sewing, I
instagrammed pictures on my cell-phone and posted them on Twitter (@restlessgrace) and Facebook. This prevented a lot of repetitive stressful questions about progress and it also garnered a lot of positive feedback and encouragement from friends and family. One of my twitter friends (@FleurHoare) regularly re-tweeted my posts which gave me a boost of confidence and pride. My coordinator
Shanelle checked in with me periodically to monitor my wedding planning progress. I could tell she was a little concerned that I was making my own dress, but she was fully supportive and kept me focused on all the wedding details.
7) Making the dress was stressful.
For the last 3 months I almost couldn’t think about anything other than the dress. It was the last thing I though about at night and the first thing I thought about when I woke up. Every wedding nightmare that I had was about the dress not being finished or looking like a hot mess. That it was stressful isn’t really a surprise, but it was something I was in denial about the entire time. I kept a tight grip on my confidence and miraculously I never faltered. I did secretly worry that it would be completed mere hours before the wedding and that it would be a wretched train wreck, but I think having perfected muslin that I could try on anytime that I felt my confidence flag was my saving grace.
 |
| I love this muslin! |
8) Timing is super important.
I thought that my 10 weeks estimate was a generous amount of time in which to complete it, but I gave myself 14 weeks just to be safe. I finished the dress just 7 days before my wedding! I should have been more disciplined about sticking to my dress making schedule (see above: stress), but since I gave myself a few weeks extra I made it in just under the wire.
9) I saved money making my dress.
Having control of my materials meant I could have a gown in whatever price range I was comfortable with. I kept a spread sheet of my purchases to keep an eye on the mounting cost of the dress. I’m going to be open; I bought $757 worth of materials (including the veil and fascinator materials), but the materials that I actually used in the dress totaled $449. Bottom line; I made a gorgeous silk dress that fits me perfectly for the bargain price of $608 (factoring all dress materials purchased) and a beautiful veil and fascinator that cost $148. For comparison, all the dresses that I tried on were in the $1600~$4000 range (before fitting). There are a lot of materials left over that I definitely will use as well. With the extra silk and lace I plan to make some luxurious lingerie.
10) It was all totally worth it.
Making The Dress was the most satisfying part of planning my wedding. The day of the wedding went by in a fast blur, but I will remember making the dress for a very long time.
 |
| Going to Church |
 |
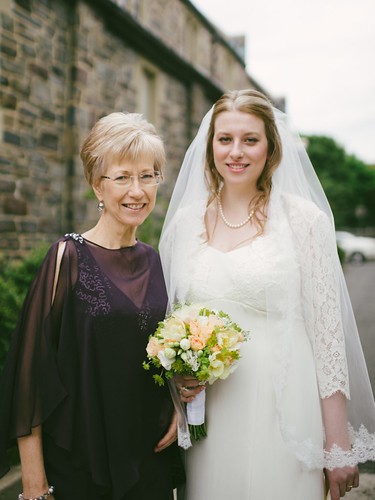
| My mom looked so lovely. |
 |
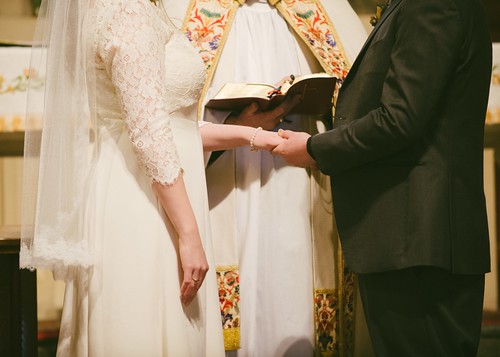
| We memorized our vows! |
 |
| Borrowed my BF's pearl necklace |
 |
| 3 bustle points - ribbons inside |
 |
| less structure = more dancing! |
 |
| Love |
Bonus Fancy Dress Making Tips:
1.
Practice everything, even if you’ve done it before. You want to know what the results will be like this time before you commit to each process.
2.
Material is precious and expensive; protect your investment: Do not let anyone else touch your fabric/project. No one knows the financial and emotional investment better than you and no one will take as much care with your fabric as you. Clean your sewing room and don’t bring the dress outside the room!
3.
You risk marring your fabric with excessive handling. When using silk crepe, test press a square of your silk with dry heat to see if it shrinks. If it doesn’t, consider skipping a pre press.
4.
Press well and often. This is no time to skimp. Cover your ironing board with clean muslin. Better yet, also cover the ironing board legs with clean muslin. If your organza press cloth somehow got fusible glue on it from a previous project, don’t use it! Test the heat setting so that you don’t get seam impressions.
5.
Sewing hook and eye tape is easy! There is
a great tutorial here.
6.
Just because Susan Khalje does it in her couture wedding dress book doesn’t mean you have to. In other words, a corselet is not necessary if the dress is not strapless and doesn’t have a heavy skirt.
7.
Stay organized. Keep all your notions together, eliminate extra stuff on your sewing table, and keep all the muslins together and all the pattern pieces together. I spent an hour hunting for my modified pattern pieces one night, terrified that I’d thrown them out.
Extra: My
wedding pinterest board with all my wedding inspiration pins.
Stay tuned for the epic wedding dress making detail post!