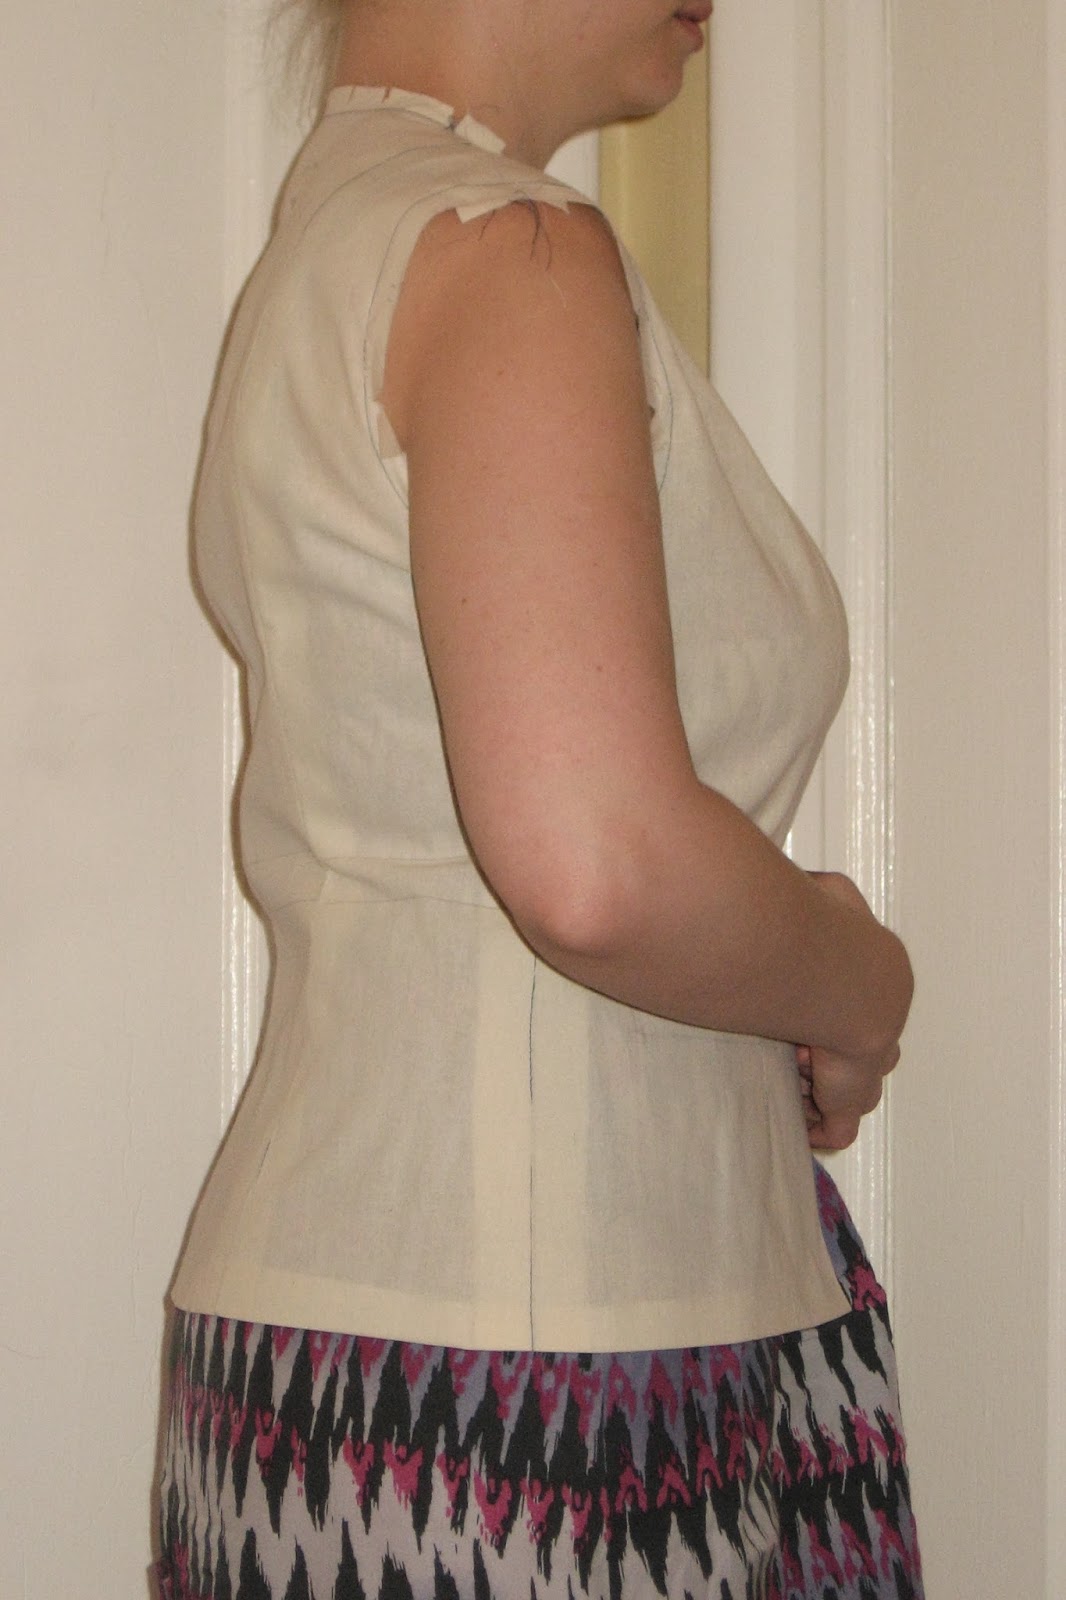
Soooooo.... Busy busy busy here, but obsessing again about my "Chanel" French Jacket project that has recently come out of hibernation. I figure if I can make a wedding dress there is no reason I can't finish this jacket.
Just to recap, I am using Vogue pattern
V7975. I have recently decided to make a new muslin because it's been a while since I started the project and I still have some lingering doubts about the fit and size. So far I have only cut out and quilted the individual body pieces. Having cut a large 2" margin around my pieces I have plenty of wiggle room to adjust for fit and size.
One reason why I pressed pause on this project was because I wasn’t sure what I wanted to do about the sleeves as the pattern is a two piece and the classic french jacket is known for that 3 piece. I am not satisfied with the prospect of simply splitting the tops sleeve as this will not create the nicely balanced 3 piece pattern that I have seen on other blogs taken from another OOP pattern. It also wouldn’t look like the sleeve diagram proffered by Claire Schaeffer in her Couture Sewing book. I tried substituting the sleeve from Claire Schaeffer’s recent vogue pattern but it is not a good match. I’m waiting with anticipation for Susan Khalje’s new pattern/book and I plan to acquire Claire Schaeffer’s new book soon as well. I would really like to get the question of 2 piece vs 3 piece settled soon!
Another reason my jacket project skidded to a halt (other than The Dress project and my sleeve indecision) was because last fall I took a jacket and coat pattern drafting course at FIT and I think my brain exploded a little. I realized that substituting sleeves was not a wise choice without a little know-how and I knew my jacket project need to hang out while I processed my new knowledge. In class, I learned that sleeves are best drafted to fit the jacket body. The shape of the base of the armhole must match the shape of the base of the armscye and the proportion of the armscye is essential to creating a beautiful sleeve cap. If it doesn’t, there will most certainly be drag lines. Additionally, the amount of ease in the sleeve seams needs to be precise so that the sleeve will tilt forward and turn inward without any drag lines or collapsing. Drafting a good sleeve is a special skill, to say the very least.
This brings me back the
V7975. The sleeve that comes with this pattern has a few identifiable problems. It is quite possible that most people haven’t run into any issues because they are ignoring the cutting lines altogether and carefully fitting and hand sewing their sleeves with excess seam allowance, or perhaps replacing it with a coincidentally better drafted sleeve. However, it’s been bugging me that there is no documentation about this online, so I felt the need to point it out incase anyone else takes issue with the sleeve pattern or doesn’t go the full couture method.
 |
| Vogue 7975 - via voguepatterns.com |
Problem #1: The front seam doesn’t have a step. Both seams should have that step because it is the step and not the tiny dots that allow the sewer to correctly line up the seams. This may not be a problem for the couture enthusiast who is ignoring the cutting lines in favor of hand basting the sleeve carefully, but it aggravates me on a technical level.... production patterns have steps on both seams!
 |
| V7975 front sleeve seam - no step! |
Problem #2: If the front seam did have a step, the top sleeve would definitely twist and have drag lines at the back seam because the top sleeve step in the back seam doesn’t match the under-sleeve. If you match the steps (edit: and the tiny dots) and sew from the top down your sleeve is going to look like crap. Promise. Try walking the back sleeve seam up starting from the top notches and you will see what I mean. I believe that the double notches and the under-sleeve step are correct, and the step (edit: and the tiny dots) on the top sleeve should be raised to match. This will correct the wonky balance.
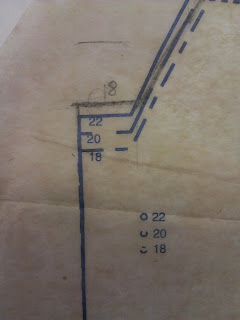 |
| V7975 - Corrected size 18 back sleeve seam step |
Problem #3: The underarm shape of the sleeve doesn’t match the armhole of the jacket. The back portion of the sleeve is higher than the armhole (if anything, the sleeve should peel away from the armhole, not jut up into it) and this will create drag lines on the under-sleeve. I briefly talked about this concept on flickr in the Colette patterns forum when I noticed
a funny spot in the
Laurel sleeve/dress pattern.) It’s easy to fix though. I just layered my pieces on top of each other and retraced the armhole onto the under-sleeve.
 |
| V7975 - Pencil traced the armhole onto the under sleeve |
So there you have my thoughts on the V7975 sleeve draft. Moving on…
I recently acquired McCalls 6401 (OOP, but check Ebay!) which has a D cup front.
It’s a short jacket (20” long) but can easily be lengthened in the across front/back, waist and at the hem. I traced out the size 18 onto plain white paper and added 1” length in the waist & 3/4" length in the sleeve for muslin making purposes.
I also checked the sleeve for any step errors, and I am happy to say that the front and back steps are both correct.
 |
| M6401 - Perfectly matching notches and back step |
I haven’t checked the shape of the underarm, but I will get to that and if there is anything to report, I will update this post. EDIT: The muslin for M6401 did not look as good as my latest V7975 muslin, so I'm sticking with Vogue.
So yeah, that's where I'm at right now with the French Jacket project.