Pages

Showing posts with label Vogue. Show all posts

Monday, December 30, 2013

Little French Jacket : Update #7

Just a quick update on my Little French Jacket project...
I started trimming my seam allowances and readying the lining for a lapped fell stitched seam.


I started on one front seam and worked my way toward the back but I decided to make a change on my second seam (the side seam)... to press the lining seams open and slip stitch closed rather than lapped and fell-stitched. Claire Shaeffer goes over both methods in her book, but doesn't really elaborate on why one might be preferable over another. I decided to make the switch because my boucle and my lining are rather light and the triple layer of lining on the lapped seam was quite visible and I didn't like it. It looked a bit unbalanced. After doing two seams open I unpicked the first seam and redid it. The show through is much less and more balanced in appearance. 


The open seams are accomplished by first pinning the seams together and pressing (above, top) and then basting with a quick running stitch on each side. After basting I can then slip stitch without concern for shifting the layers of fabric (above, bottom). 

I've finished the first half of the jacket and I have the next seam trimmed and pinned. I hope to finish up with all the vertical seams over the New Year so I can move on to preparing the sleeves. 

If I have one resolution for 2014 it is to finish this jacket by my 1 year anniversary (and to finish my thank you notes and photo album). 

PS... I REALLY HATE the new Flicker photo sharing code. 

Friday, December 6, 2013

"Chanel-Inspired" French Cardigan Jacket: Part 6


I may have mentioned this earlier, but I started to quilt my french jacket pieces over a year ago when I first started the project. I tested out the quilting on some pieces of scrap fabric slightly smaller than a sheet of paper and didn’t use an obsessive amount of pins, just enough scattered around so that the silk and boucle wouldn’t shift or slide much. The walking foot do the work, and went slowly starting from the same end for each row. The results looked good so I went ahead and quilted all but the center front panels.

Then I put the jacket aside for the winter, spring, summer, fall (took a jacket making class) and last winter when I made my wedding dress.  That brings me (more or less) to the present and despite being in 2 classes this semester I have finally come back to the project and made several new muslins to check and refine the fit. I decided to go up one jacket size and worked on same fit issues that I had previously.

Muslin #1  - front not hanging straight

Muslin #2 - Neckline also overlaps at front
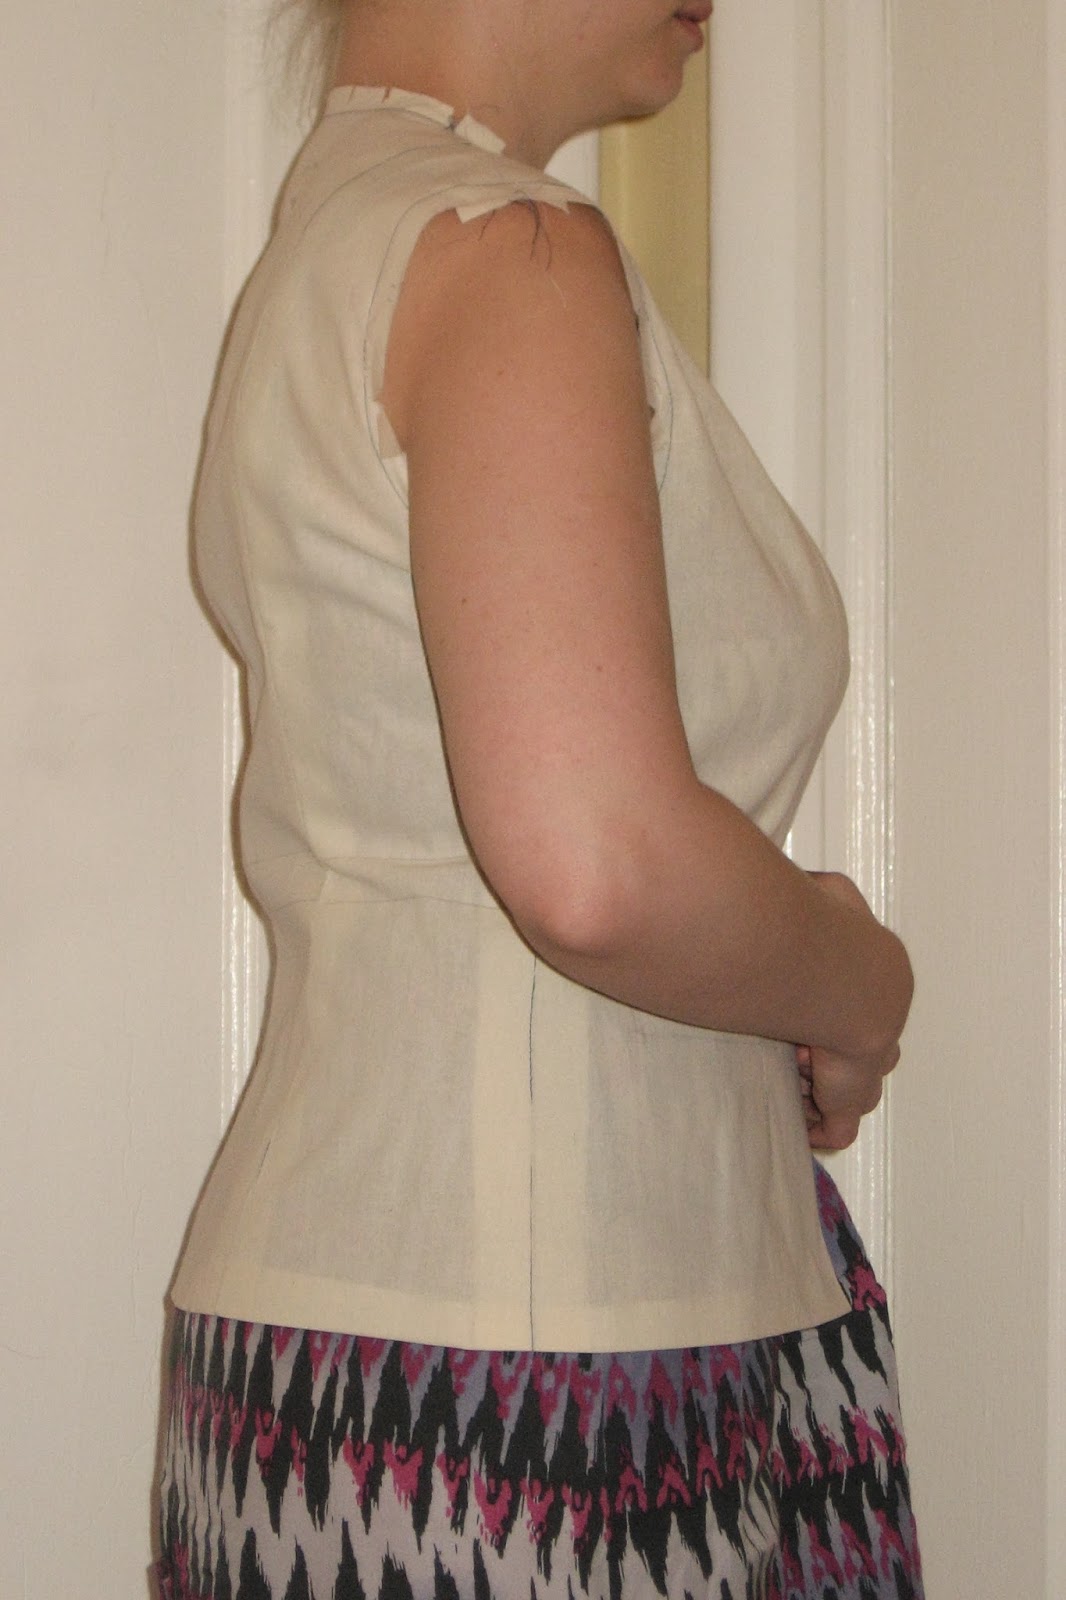
I don't have any pictures of the current V7975 muslins (#3, #4) but the problem is pretty much the same, the front is swinging away at the hem and the neckline overlaps at the top. The difference is that I now have a little bit more knowledge about jacket fitting. The first place one should address when dealing with this sort of fit problem is the shoulder seam. In order to get the front to hang straight (grain-lines are important in a muslin fitting!) one must correct the placement of the shoulder seam. In the case of this pattern, my shoulder seams are too far forward at the neck which is causing the problems.

To correct the problem on the new muslins (I did this for all three that I made) I only used pins at the seams (yes, I have tons of scratches on my arms... don't say I didn't warn you) and I was able to re pin the shoulder seams in increments until I was satisfied with the placement of the shoulder seam and the grain-line on the front of the jacket. It turned out that the front pieces were fine, but the back pieces were too long/high and the back neck of the muslin was creeping up my neck.

evidence of my erect back (muslin #1)
Now, I have a rather pronounced front (ahem) and a rather straight, erect back. I often have wrinkles across my back at the bra line because my front is longer than my back thanks to my assets. I have done some research and know that an "erect" back alteration is quite similar to a sway back alteration.
(My fix usually involves picking up the back about/at least a 1/2".  By "pick-up" I mean to actually lower the back neck and shoulders. (note: Pattern, Scissors, Cloth has a great tutorial) In the case of this jacket I could easily see that the same alteration would correct the back neck and shoulder seam line.

Muslin #3 - back correction
Further muslin refinements included a front FBA by letting out the front princess seams and replacing the bust curve. I also tried an even larger muslin (20) but the fit in the armholes and across back was too big so I went back to the size 18. The muslin adjustments were transferred back to my paper pattern and then I re-thread traced my pattern onto the already quilted pattern pieces. Thank Susan for those extra large seam margins! The difference was no more than 1/2" total so it should work out fine. For the moment I am leaving the original basting threads in.

The current state of the jacekt
I have also begun to machine baste the pieces together and I'm looking forward to matching and cutting out the sleeve pieces.

Thursday, December 5, 2013

Review: The Couture Cardigan Jacket by Claire B Shaeffer

I couldn't wait for black friday or christmas to buy Claire Shaeffer's latest book, Couture Sewing; The Couture Cardigan Jacket; Sewing secrets from a Chanel Collector, so I ordered it from Amazon while purchasing my hub's birthday present.

Recent Acquisitions
So... I've read almost everything there is to read on the subject (patterns, magazine articles, websites, blogs) so I knew that a lot of the information would be a little redundant. What I was hoping for was some further illumination on the process and of course the DVD that came with the book. 

I read the book in about 2 hours, maybe less. The print is large and there are a lot of pictures. That said, I don't feel that it is particularly light on content, however it feels more like an expanded construction for her Vogue 8804 pattern than a definitive book on the subject. The fabric choices and trim options shown in the book are rather uninspiring and there is no discussion of fitting the jacket or how a Chanel jacket should fit. She only mentions other patterns is in the DVD. Speaking of the DVD... all the step-by step pictures in the book are still images from the DVD, so the quality of the images is a little less than ideal, however the content of the images and the DVD is quite nice. I feel that the real value in this book is the DVD because there is just nothing like watching someone with years of sewing experience do the work. As Claire sews she is able to point out methods and details that an instructor might not think to mention after the fact. Overall, I'm glad I have this book/DVD, but it in no way replaces all of the other research one can and should do in preparation for their own Little French Jacket project.

Also, on black friday I was in the burbs visiting my in-laws and I managed to sweet talk my husband into taking me to Jo-Ann's and AC Moore. I was able to purchase a sleeve board with my black friday 50% off coupon and some clover fork pins, which I have decided are only marginally more useful than regular glass headed pins as they require a bit of attention to insert properly and WILL break your needle if you sew over them.

Monday, October 28, 2013

"Chanel-inspired" French Jacket Revisited (Part 5) - Sleeve Pattern Woes

Soooooo.... Busy busy busy here, but obsessing again about my "Chanel" French Jacket project that has recently come out of hibernation. I figure if I can make a wedding dress there is no reason I can't finish this jacket.

Just to recap, I am using Vogue pattern V7975. I have recently decided to make a new muslin because it's been a while since I started the project and I still have some lingering doubts about the fit and size. So far I have only cut out and quilted the individual body pieces.  Having cut a large 2" margin around my pieces I have plenty of wiggle room to adjust for fit and size. 

One reason why I pressed pause on this project was because I wasn’t sure what I wanted to do about the sleeves as the pattern is a two piece and the classic french jacket is known for that 3 piece. I am not satisfied with the prospect of simply splitting the tops sleeve as this will not create the nicely balanced 3 piece pattern that I have seen on other blogs taken from another OOP pattern. It also wouldn’t look like the sleeve diagram proffered by Claire Schaeffer in her Couture Sewing book. I tried substituting the sleeve from Claire Schaeffer’s recent vogue pattern but it is not a good match. I’m waiting with anticipation for Susan Khalje’s new pattern/book and I plan to acquire Claire Schaeffer’s new book soon as well. I would really like to get the question of 2 piece vs 3 piece settled soon!

Another reason my jacket project skidded to a halt (other than The Dress project and my sleeve indecision) was because last fall I took a jacket and coat pattern drafting course at FIT and I think my brain exploded a little. I realized that substituting sleeves was not a wise choice without a little know-how and I knew my jacket project need to hang out while I processed my new knowledge. In class, I learned that sleeves are best drafted to fit the jacket body. The shape of the base of the armhole must match the shape of the base of the armscye and the proportion of the armscye is essential to creating a beautiful sleeve cap. If it doesn’t, there will most certainly be drag lines. Additionally, the amount of ease in the sleeve seams needs to be precise so that the sleeve will tilt forward and turn inward without any drag lines or collapsing. Drafting a good sleeve is a special skill, to say the very least.

This brings me back the V7975. The sleeve that comes with this pattern has a few identifiable problems. It is quite possible that most people haven’t run into any issues because they are ignoring the cutting lines altogether and carefully fitting and hand sewing their sleeves with excess seam allowance, or perhaps replacing it with a coincidentally better drafted sleeve. However, it’s been bugging me that there is no documentation about this online, so I felt the need to point it out incase anyone else takes issue with the sleeve pattern or doesn’t go the full couture method.
Vogue 7975 - via voguepatterns.com
Problem #1: The front seam doesn’t have a step. Both seams should have that step because it is the step and not the tiny dots that allow the sewer to correctly line up the seams. This may not be a problem for the couture enthusiast who is ignoring the cutting lines in favor of hand basting the sleeve carefully, but it aggravates me on a technical level.... production patterns have steps on both seams!
V7975 front sleeve seam - no step!
Problem #2:  If the front seam did have a step, the top sleeve would definitely twist and have drag lines at the back seam because the top sleeve step in the back seam doesn’t match the under-sleeve. If you match the steps (edit: and the tiny dots) and sew from the top down your sleeve is going to look like crap. Promise. Try walking the back sleeve seam up starting from the top notches and you will see what I mean. I believe that the double notches and the under-sleeve step are correct, and the step (edit: and the tiny dots) on the top sleeve should be raised to match. This will correct the wonky balance.
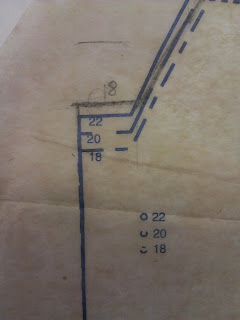
V7975 - Corrected size 18 back sleeve seam step
Problem #3: The underarm shape of the sleeve doesn’t match the armhole of the jacket. The back portion of the sleeve is higher than the armhole (if anything, the sleeve should peel away from the armhole, not jut up into it) and this will create drag lines on the under-sleeve.  I briefly talked about this concept on flickr in the Colette patterns forum when I noticed a funny spot in the Laurel sleeve/dress pattern.) It’s easy to fix though. I just layered my pieces on top of each other and retraced the armhole onto the under-sleeve.

V7975 - Pencil traced the armhole onto the under sleeve

So there you have my thoughts on the V7975 sleeve draft. Moving on…

I recently acquired McCalls 6401 (OOP, but check Ebay!) which has a D cup front. 
It’s a short jacket (20” long) but can easily be lengthened in the across front/back, waist and at the hem. I traced out the size 18 onto plain white paper and added 1” length in the waist & 3/4" length in the sleeve for muslin making purposes.
I also checked the sleeve for any step errors, and I am happy to say that the front and back steps are both correct.
M6401 - Perfectly matching notches and back step
I haven’t checked the shape of the underarm, but I will get to that and if there is anything to report, I will update this post. EDIT: The muslin for M6401 did not look as good as my latest V7975 muslin, so I'm sticking with Vogue.

So yeah, that's where I'm at right now with the French Jacket project.

Wednesday, January 6, 2010

Happy New Year! (Vogue 2984)


AK Jacket Front
Originally uploaded by wzrdreams
Picking up some OJ on the way to New Years Brunch.

Vogue 2984 - Klein Jacket pattern. Self lined, shawl collar wrap jacket with slit pockets and back/side peplum.

The pattern ran small, but I read up on it on patternreview.com before hand so I was prepared and cut a jacket 2 sizes larger than I would have otherwise. I also make the armhole slightly bigger at the suggestion of a previous pattern reviewer and my pattern maker (I work for ladies suit company as a tech designer and using the cutting tables is my favorite job perk), who happened to walk by while I was cutting this out. He suggested that I trim the armhole 1/4" and then sew the armhole seam at 3/8" instead of the prescribed 5/8". I took his advice and am quite satisfied with the fit of the armhole.

It’s completely self lined, which makes it very warm, but one thing I would do differently is change the sleeve lining to a thinner material, the double layer of wool gets bulky in there. This was also the project that I learned you should preshrink even your woolen fabrics. Steam press!

Friday, July 3, 2009

A few late night stitches

The sewing mojo has certainly been flowing lately and I've had a few happy successes. The key is to pick the right size (always dicey), the right fabric for the pattern. It has been a challenge and a pleasure to work with fine fabrics.

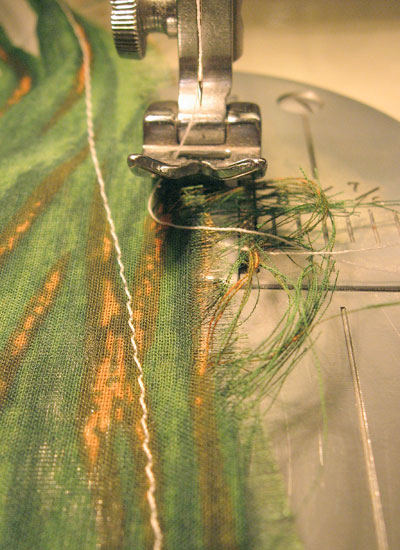
Wrestling with thread tension on some very fine silk & cotton batiste. French seams were a necessity.

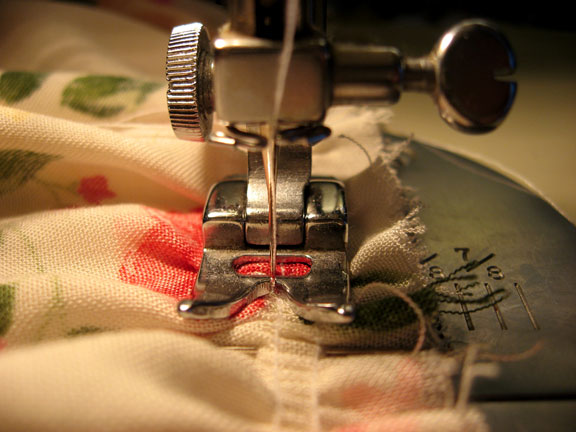
Gathering on a floral print rayon. I think I prefer to machine baste rather than hand baste the gathering stitches because it makes the final stitching easier and the gathers more even.

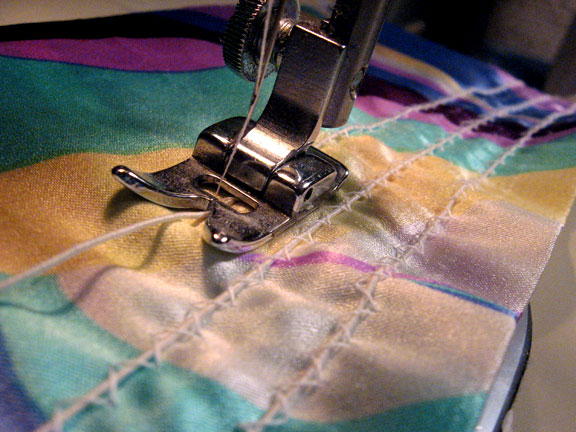
Elasticized shirred panel on stretch silk charmeuse.
Practice makes perfect, and sometimes things are easier than they look. 


Related Posts Plugin for WordPress, Blogger...