Pages

Showing posts with label cardigan. Show all posts

Friday, December 6, 2013

"Chanel-Inspired" French Cardigan Jacket: Part 6


I may have mentioned this earlier, but I started to quilt my french jacket pieces over a year ago when I first started the project. I tested out the quilting on some pieces of scrap fabric slightly smaller than a sheet of paper and didn’t use an obsessive amount of pins, just enough scattered around so that the silk and boucle wouldn’t shift or slide much. The walking foot do the work, and went slowly starting from the same end for each row. The results looked good so I went ahead and quilted all but the center front panels.

Then I put the jacket aside for the winter, spring, summer, fall (took a jacket making class) and last winter when I made my wedding dress.  That brings me (more or less) to the present and despite being in 2 classes this semester I have finally come back to the project and made several new muslins to check and refine the fit. I decided to go up one jacket size and worked on same fit issues that I had previously.

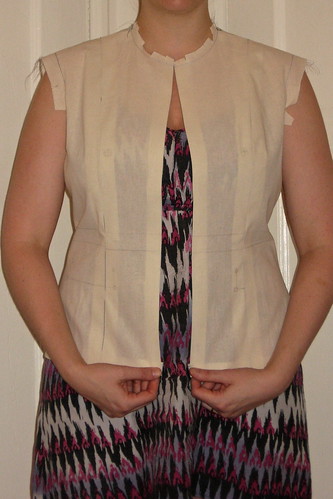
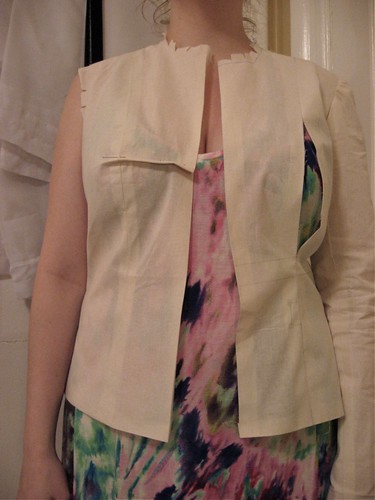
Muslin #1  - front not hanging straight

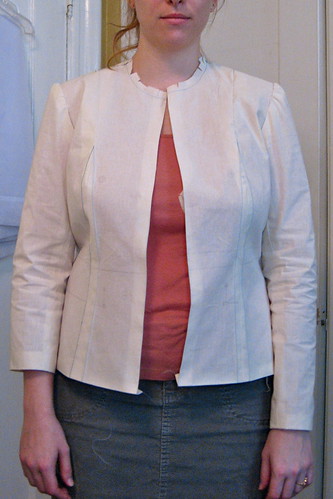
Muslin #2 - Neckline also overlaps at front
I don't have any pictures of the current V7975 muslins (#3, #4) but the problem is pretty much the same, the front is swinging away at the hem and the neckline overlaps at the top. The difference is that I now have a little bit more knowledge about jacket fitting. The first place one should address when dealing with this sort of fit problem is the shoulder seam. In order to get the front to hang straight (grain-lines are important in a muslin fitting!) one must correct the placement of the shoulder seam. In the case of this pattern, my shoulder seams are too far forward at the neck which is causing the problems.

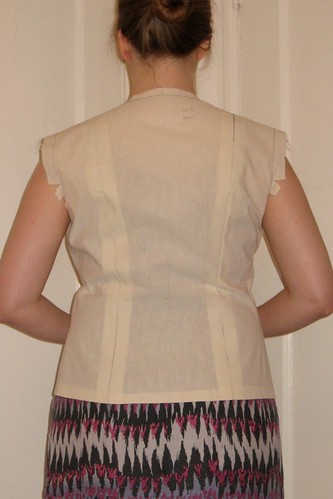
To correct the problem on the new muslins (I did this for all three that I made) I only used pins at the seams (yes, I have tons of scratches on my arms... don't say I didn't warn you) and I was able to re pin the shoulder seams in increments until I was satisfied with the placement of the shoulder seam and the grain-line on the front of the jacket. It turned out that the front pieces were fine, but the back pieces were too long/high and the back neck of the muslin was creeping up my neck.

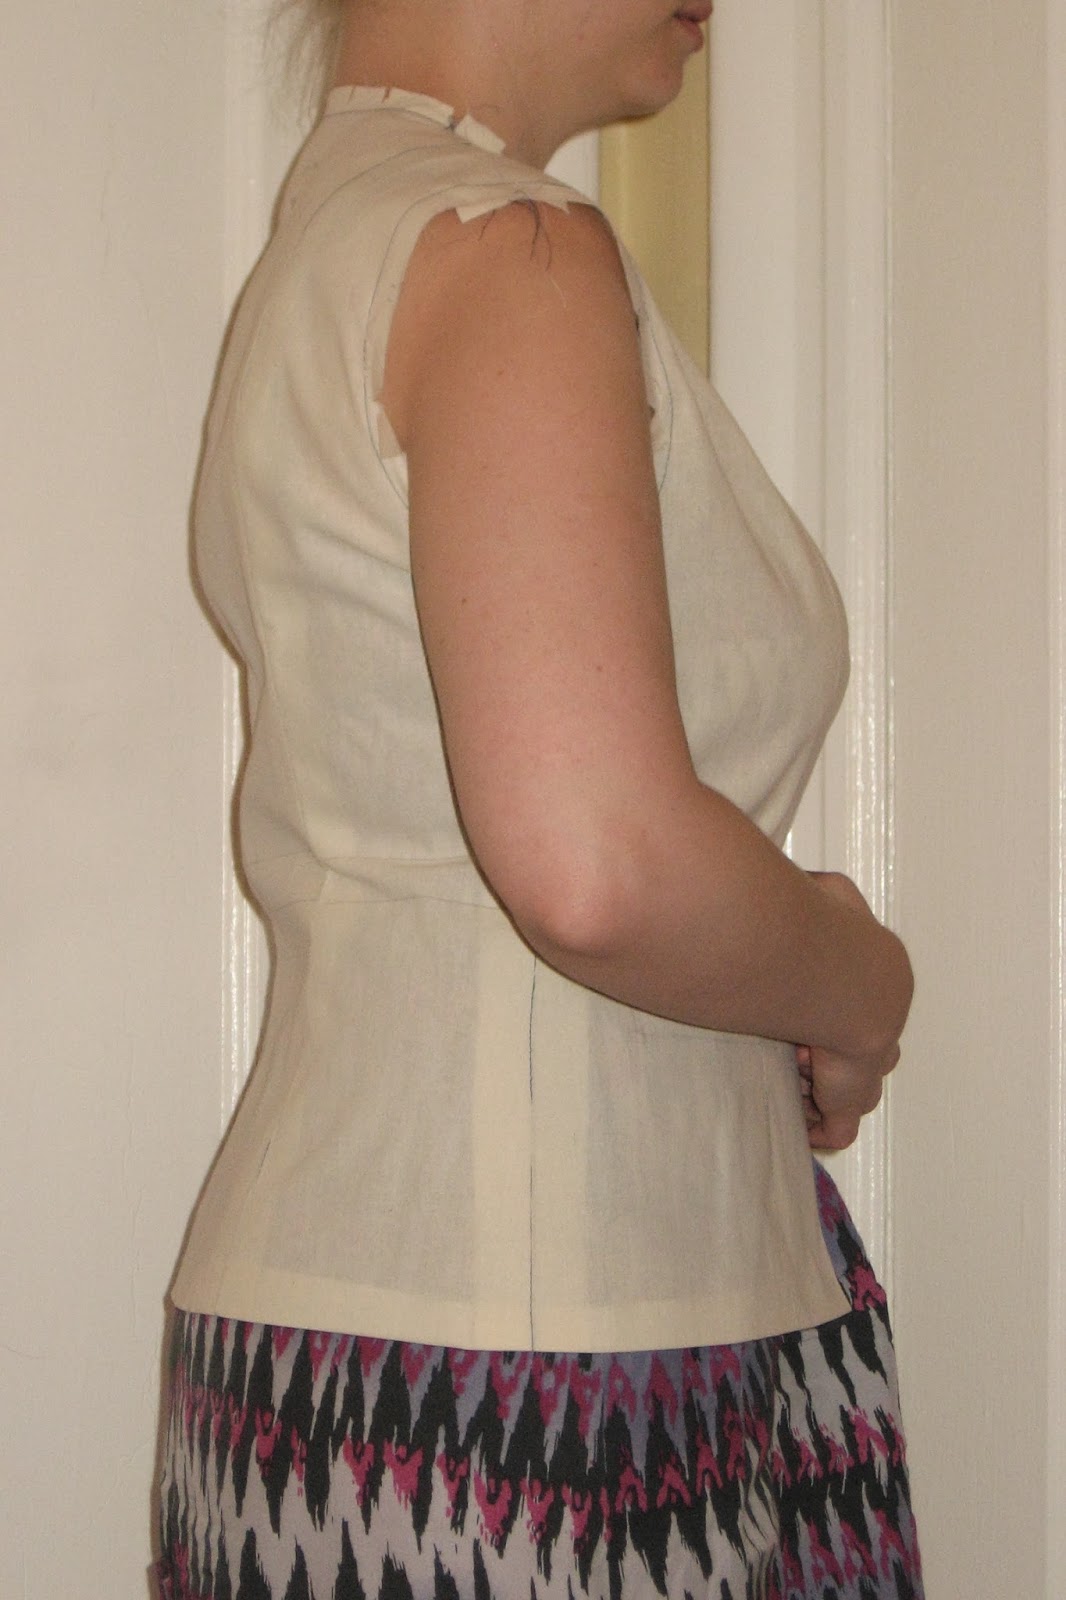
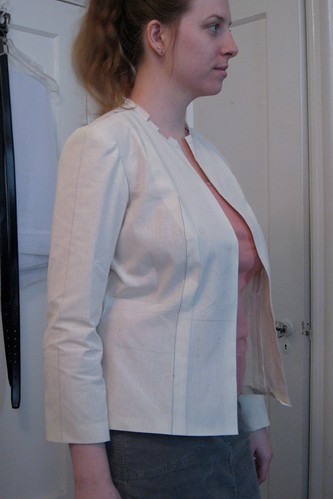
evidence of my erect back (muslin #1)
Now, I have a rather pronounced front (ahem) and a rather straight, erect back. I often have wrinkles across my back at the bra line because my front is longer than my back thanks to my assets. I have done some research and know that an "erect" back alteration is quite similar to a sway back alteration.
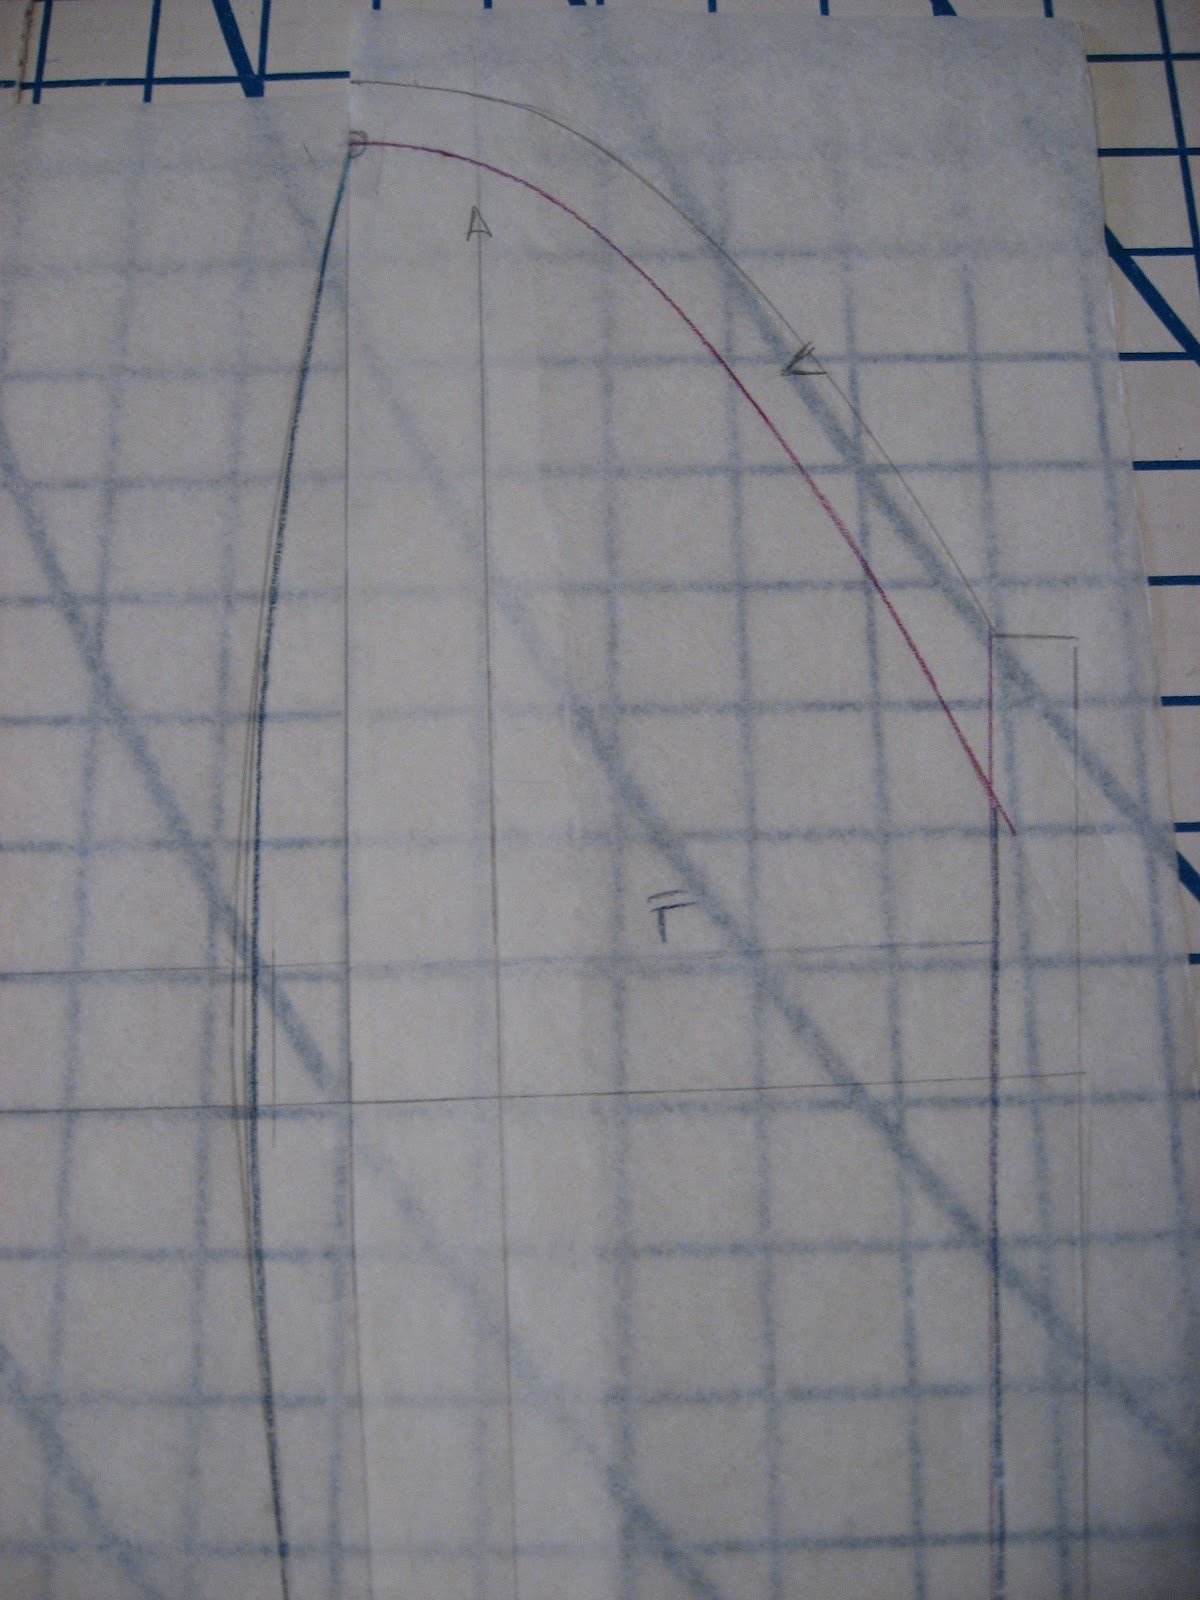
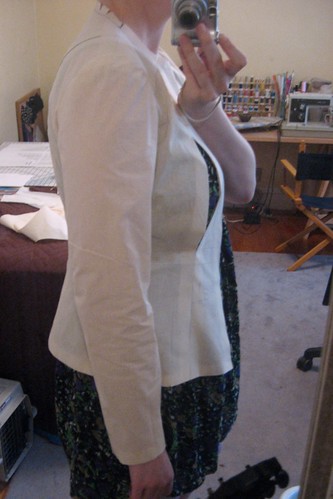
(My fix usually involves picking up the back about/at least a 1/2".  By "pick-up" I mean to actually lower the back neck and shoulders. (note: Pattern, Scissors, Cloth has a great tutorial) In the case of this jacket I could easily see that the same alteration would correct the back neck and shoulder seam line.

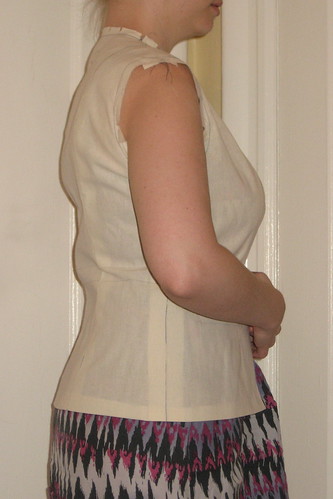
Muslin #3 - back correction
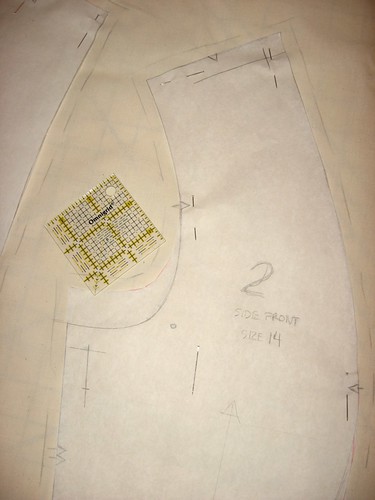
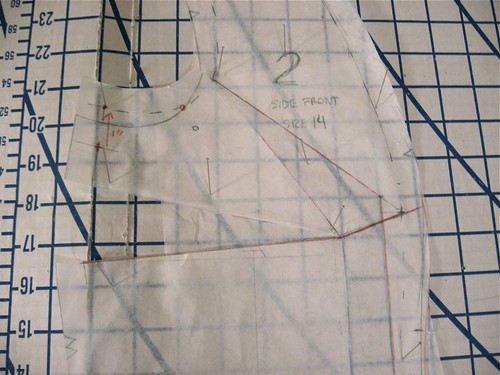
Further muslin refinements included a front FBA by letting out the front princess seams and replacing the bust curve. I also tried an even larger muslin (20) but the fit in the armholes and across back was too big so I went back to the size 18. The muslin adjustments were transferred back to my paper pattern and then I re-thread traced my pattern onto the already quilted pattern pieces. Thank Susan for those extra large seam margins! The difference was no more than 1/2" total so it should work out fine. For the moment I am leaving the original basting threads in.

The current state of the jacekt
I have also begun to machine baste the pieces together and I'm looking forward to matching and cutting out the sleeve pieces.

Tuesday, September 25, 2012

Chanel Jacket: Part 4: New Muslin, Quilting Prep


I cut and fit the new muslin last week. This time I make a size 16. I ended up making the same FBA to the front by adding 3/8” to the front princess seam allowances from hem and then blending in to the seam just above the bust curve. It fits just fine. I don't have a pic at the moment though.

This weekend I fit the sleeve. It was tight across the bicep and didn’t have much movement. I checked the measurement and noticed that the bicep measurement on the pattern piece (15 1/8”) is not correct. The bicep actually measured 14 ¾”, so there’s that. My bicep is 13 ½” but 2” ease is the suggested minimum (according to my Jacket’s & Suits patternmaking professor). Also worth noting: the “step” on the elbow seam of the upper sleeve is too low. I corrected it by matching the dots and redrawing the step. BTW, the step is used in production patterns to line up the top of the elbow seam. Both sleeve pieces should have steps on the top of the elbow seam that match perfectly so that you can line up the first part of the seam easily. The dots aren’t even necessary with a correct step, but I digress. I had been contemplating just going with the 2 piece sleeve but since I’d have to adjust it to fit anyway I figured I might as well make it into a 3 piece sleeve; more on that later.


Since I have the new Clair Schaeffer pattern I decided to trace the 3 piece sleeve onto muslin and give it a try. It has more room in the bicep but there is a LOT of sleeve cap ease; too much for the body. I suppose it could be the fact that it doesn’t really belong to the pattern body, but I wouldn’t know unless I muslin that body which I am not going to do at this time. The interesting thing about this sleeve is that all three pieces are quite curved. When the constructed sleeve is laid on a table it doesn’t lie flat and the wrist pops up. Basically the sleeve is shaped to mimic the way our arms naturally curve forward and inward. The curve of the outer seam is so pronounces that I think it makes the arm looks very rounded, which I don’t like. I want slim looking arms please! I think the “odd” grain-line on the front sleeve is intentional to get the grain to appear straight on the front of at the shoulder and especially at the third seam, but the curve kind makes this a moot point. I think it was worth trying and I wouldn’t write it off if I were to make the Claire Schaeffer pattern later.


So back to original 2 piece sleeve which I transformed into a 3 piece and increased the bicep approximately 1 ½” total. To do this first marked the bicep line and then I split the upper sleeve in half vertically (parallel to the grain-line) from the shoulder seam notch and then gently curved the line toward the front below the elbow so that it bisected the wrist in the middle. I taped each half to some extra paper and then added 5/8”~3/4” at each bicep point and used my hip curve to blend into the shoulder point and wrist. Then I added the canted sleeve vent under-lap on the back piece. I haven’t yet, but before I cut the fashion fabric I will cut muslins of this new sleeve and to check the fit once again.


In the meantime, I’m preparing the body panels for quilting. This involves 1) thread tracing the pattern piece using a single strand of red dmc embroidery thread; 2) placing a silk organza armhole stay under the side front and back panels; cutting a square of silk jacquard lining and pinning it to the underside of each panel being careful to preserve the grain-line of all pieces. I got all 4 armhole panels completed last night so I think I should be able to do the center back and center fronts tonight. Then I will move onto the quilting phase!


I am super excited about the quilting part. It means I will finally get to justify my walking foot purchase (although I already used in on a mini quilt) and I’ll get to see how the hand of the fabric changes when the lining layer is added.


I also got out my trim again and started looking at it on top of some pieces of bias that I cut. It makes me very excited about this project!! I’m trying to be cool about it though. I don’t want any perceived setbacks to ruin the rhythm I’ve got going on.

Saturday, July 30, 2011

Chanel Jacket: Part 2: Muslin Making

I am currently knee deep in my Chanel Jacket Muslin fitting.

Recap: Pattern: V7975, short version with no overlap.

Initial Pattern Issue: This pattern does not have the 3 piece sleeve that I want and none of the other patterns with a 3 piece sleeve are in print. I even enlarged the diagram from the Great Sewn Clothes book and printed it out to scale to see what I could glean about the fit and attempted to redraft a sleeve for my pattern taking these details into consideration.  I was obsessing a bit much about it so I asked my sewist friend Sara of and Sparrows and Honey Bees for her advice. She assured me that I 3/4 length 2 piece sleeve would be fine and appropriate for a summer jacket. I'm still thinking about it, but I'm probably going to take her word for it and keep working on the sleeve pattern puzzle for a wool boucle winter version.


 Muslin #1: Like a good little apprentice couturier, I made a muslin. I started with size 14 according to my high bust and I knew I would need to lengthen it so I added 1” to the bodice and sleeves prior to cutting the muslin. According to my research the classic Chanel jacket has very high armholes, so I also raised the armholes 1 inch (but traced out the original armholes for comparison) and only inserted one sleeve. I sewed it up with 1" seam allowances and tried it on. The armhole fit is good although the bicep may be a tiny bit snug (still contemplating that). I'm happy with the way the back fits. The one issue I have is with the front. Obviously, I need a FBA.


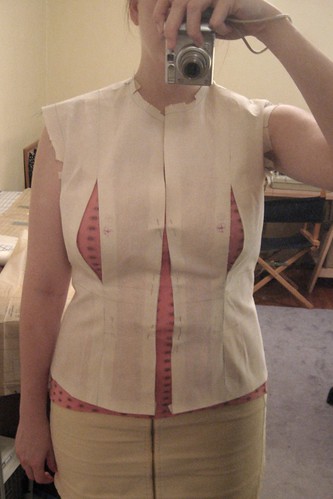
Muslin #2 I followed Fit For Real People’s approach to the princess seam FBA. FFRP offers 3 options for FBA on the princess seam: adjust the front piece, adjust the side front piece, or if the adjustment is very minor one can just add to the princess seams. For larger adjustments (ahem DD over here) FFRP has you choose based on the how far apart or close together ones bust apex is. The idea being that the princess seam should fall on the apex. My bosoms must be pretty well centered because they were already on the princess seam (minus the 1” FBA needed). Unlike Erica Bunker. who adjusted the front piece, I opted to modify the side front piece. I spread the bust 1” for my DDs. I was rather proud of my pattern modification and re-cut a side front and front muslin piece and attached them to the half of my muslin that did not have a sleeve.


Result: the front piece is WAY TOO LONG, causing the CF to hang down and out.  Because I spread my side front 1" I ended up adding 1 ½” length to the front piece which caused the front edge to hang down and swing away, and caused the CF to look curved rather than straight. Bummer.

Problem solving: I pinched out 1” at the CF and tried to determine how to adjust the front piece to reduce the front edge length only but I was stumped. FFRP does not address the princess droop for an open jacket. It only offers a solution for a dress which is to hack off any excess length at the bottom of the front panel, which is an inelegant solution (IMHO) that would not work for me here. I though real hard and as the hour of my bedtime drew nigh I began to fear going to sleep frustrated. In a moment of desperation I undid the princess seam on the other half of the muslin that had the original pattern and let out my seam allowances (1” muslin seam allowances are a MUST folks!) so that my remaining SA was ½” from the hem to the bust point and then tapered into the original seam. It worked. I had my 1” added width and My CF edge is straight. My hem is straight(ish) This FBA is way easier than the FFRP version.
I think I'm going to let out the side seams below the waist about 1/8" and pinch in a bit of the front princess seams above the bust before I finalize my pattern revisions. I'm also still trying to decide about the sleeve length.... 3/4 length or long sleeve. My BF likes the long, but as a summer jacket a 3/4 length would be just fine and I could always make this again as a winter jacket with a black wool boucle and long sleeves. I still want to try to figure out the 3 piece sleeve pattern (or find a copy of the Sandra Betzina pattern). 

Thoughts on my progress so far are welcome!

Monday, March 16, 2009

Still waiting for spring

So that pretty, lovely, hand dyed merino became this soft and comfy hat!
Yarn: 1 skein LB Collection Superwash Merino DK (hand-dyed by moi) 
and way less than 1 skein of Rowan Kid Silk Haze, color: Midnight 
Needles: Sz 8 16" bamboo circulars

My only modification was to increase the number of CO sts to 96, so that it would be super relaxed and slouchy on my 23" head, and when I got to the first decrease round I decreased evenly down to the required 88 sts. Knitting this hat was very relaxing and pleasant. It definitely lives up to its name. I was a little worried that I wouldn't have enough of the DK merino because I only dyed 1 skein but it turned out that I had enough left over for a beautiful lace swatch. The colors go together perfectly with the KSH that has been hanging around my stash forever. This hat also compliments my Ice Queen (another recent, un-blogged FO).

I've been so productive knitting lately (not so much with the sewing unfortunately) that I kind of have a back log of stuff that needed to get photographed and posted. This weekend The Boy was sweet enough to photograph what must have seemed like a whole trunk show. I don't think I'll get around to blogging about everything... I don't think I'm that disciplined in the blogging department yet, but I do want to share some of my recent favorites. 

This one makes me super happy.

Pattern: #22 Lace Shawl, Knit.1 Spring 2008
Yarn: Universal Yarns; Eden Silk, 3 skeins in Brick.
Needles: Sz 7 Addi Turbos.

I am freak'n thrilled by this shawl. It is pretty, practical, and it was way easier to knit than it looks and it was fast and fun. (Except the edging. That was boring, but over soon enough).

The chart is available for free download on the Knit.1 website. Not the lace edging... need the magazine for that (although there is an error in the edging anyway that's pretty easy to spot).
I did modify the chart somewhat because I noticed that it didn't match the magazine picture. Basically, I made all the double decreases centered instead of left leaning and I changed some of the side lace decreases to always face inward (ssk on left edges, and k2tog on right edges) so that they flowed into the lace pattern.

FYI: the error in the edging is that the giant YO is miswritten as a M1. 
It just doesn't really work as written.  

Something else that makes me happy:
 An awesome mostly stockinette sweater, that I didn't have to knit!
My knitting buddy Laura knit this gorgeous Sunrise Circle Cardigan and as she was sewing up the first seam had to face the awful truth: this cardigan had sleeves meant for monkeys. They were WAY too long! So after marinating in time out for a whole year, she gave to me! I have monkey arms! And I can't believe it, but only a month later I finally seamed it up and stitched down my first hem.

I think I did a pretty decent job at it if I must say so myself. The sleeve hems took 1 evening and the body hem took 2 evenings. The buttons & loops were super quick.... which makes me think it has something to do with the fact that this is a free knit, and I have relatively little work invested in it. How else can I explain letting my Retro Swing Jacket languish without proper closures?

There's more that I've knitted and finished and photographed, but I have a TV date with Anthony Bourdain and even MORE knitting. Ciao!
Related Posts Plugin for WordPress, Blogger...