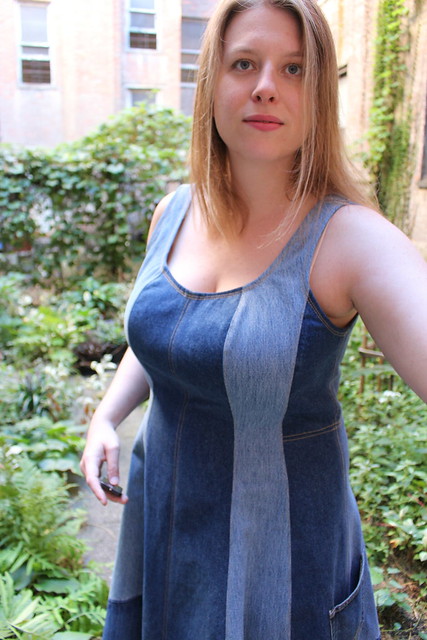
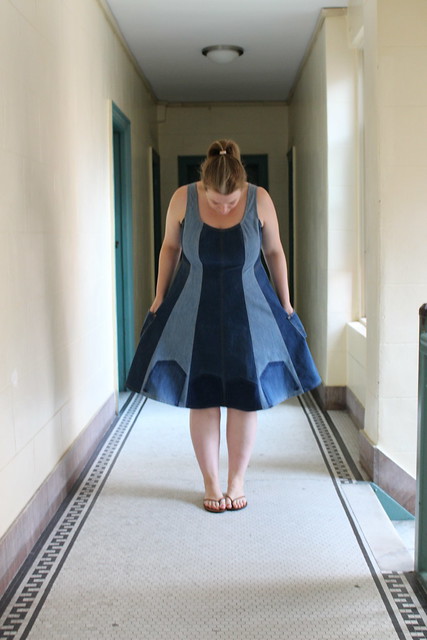
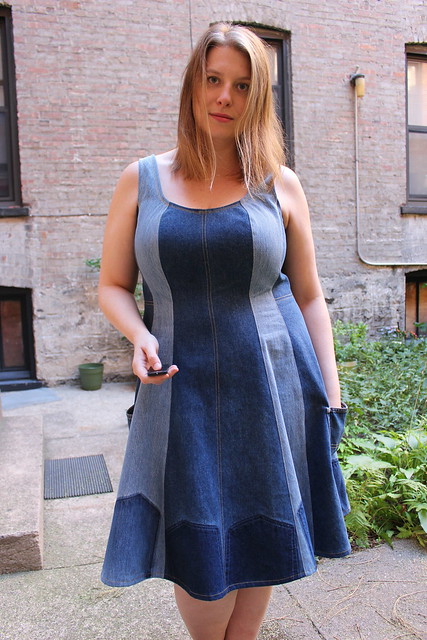
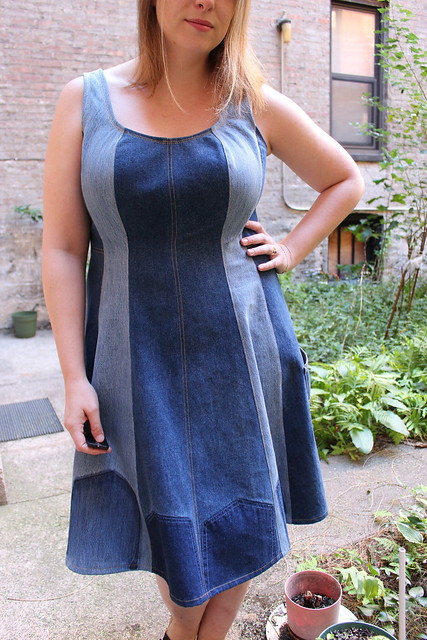
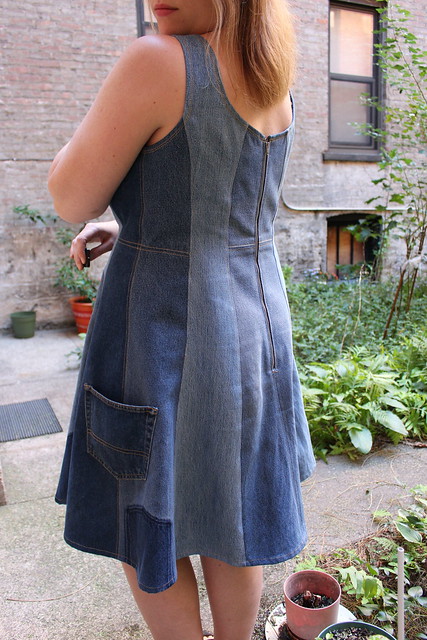
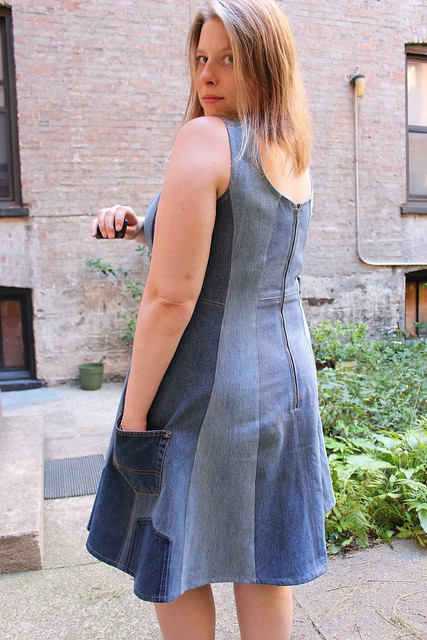
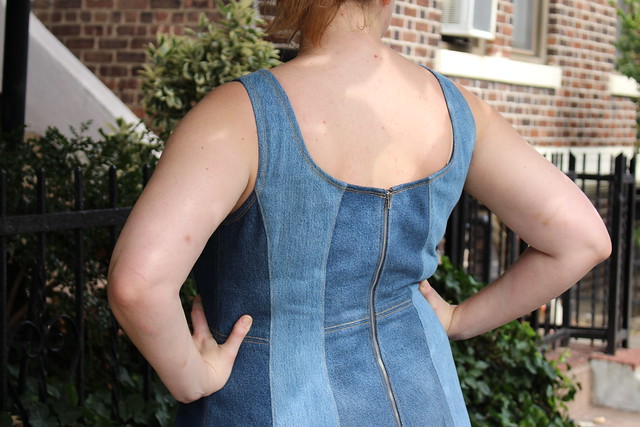
V9253 – My Revised
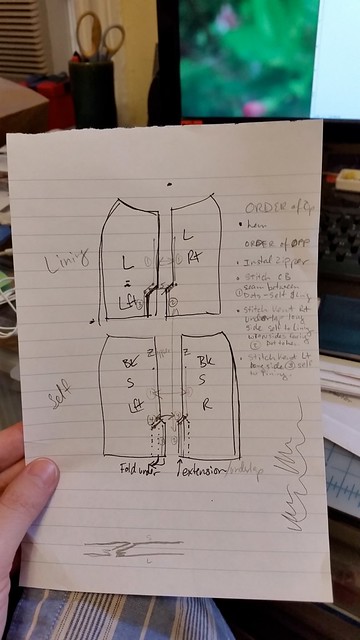
Construction
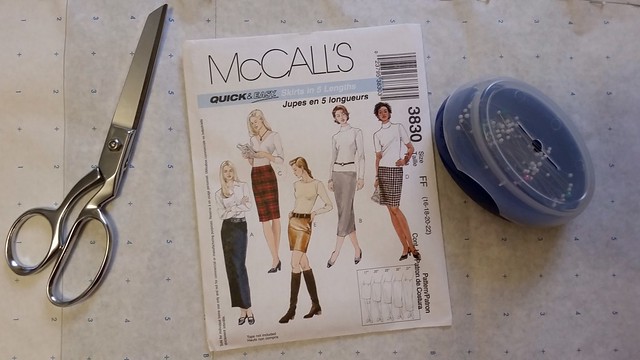
I will probably add photos at some point, but this is really just a revised order of opeeration becuase I changed hings in order to make fitting in the fabric easier. Full pattern review on PatternReview.com
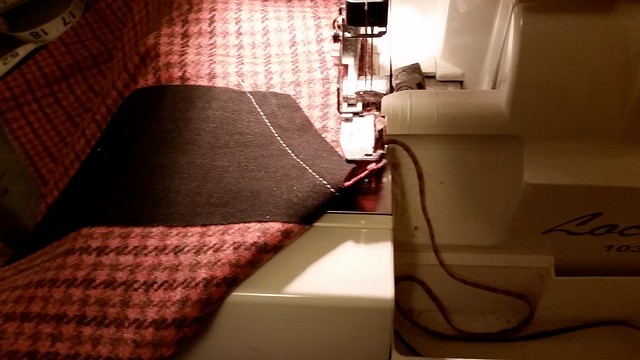
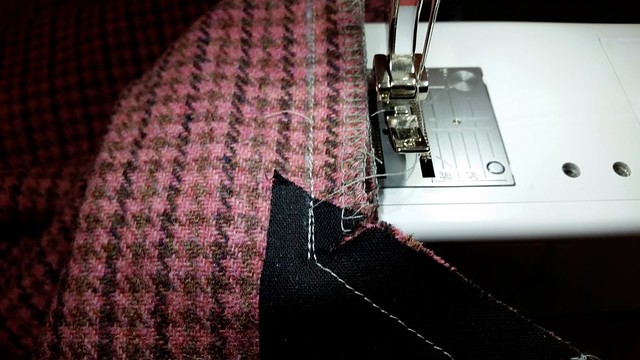
Finish - overlock (serge), zig zag,
double stitch + pink)
SNTS – Single needle topstitch.
SNES – Single needle edgestitch.
CF – Center front.
CB – Center back.
Prepare
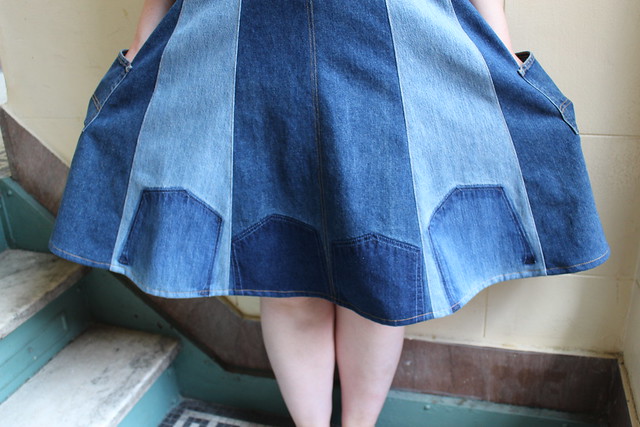
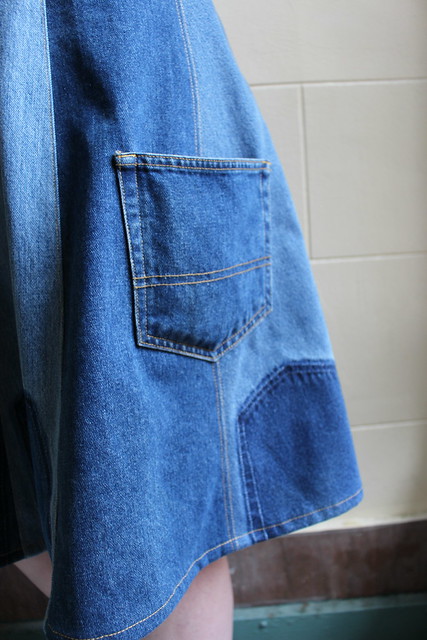
Skirt & pockets
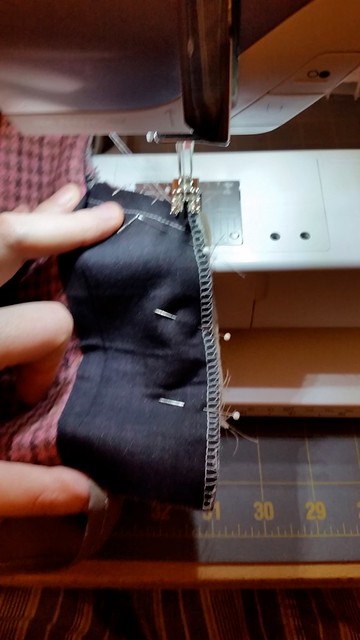
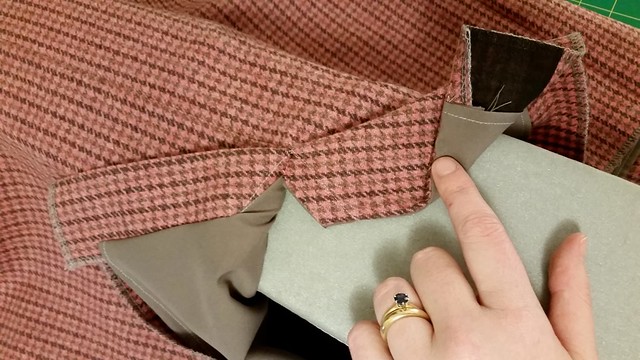
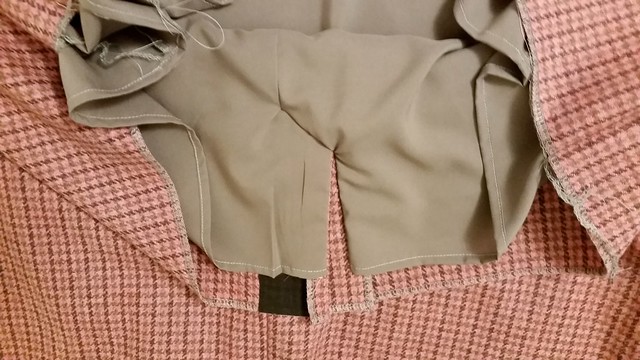
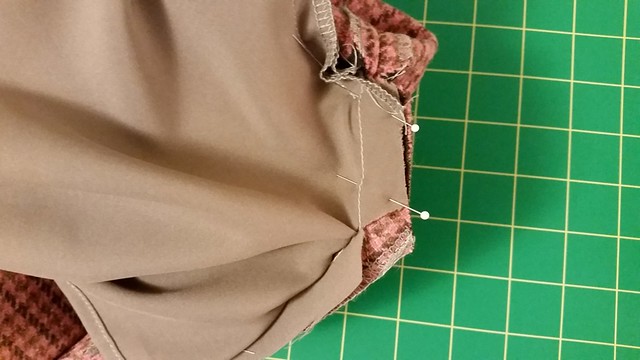
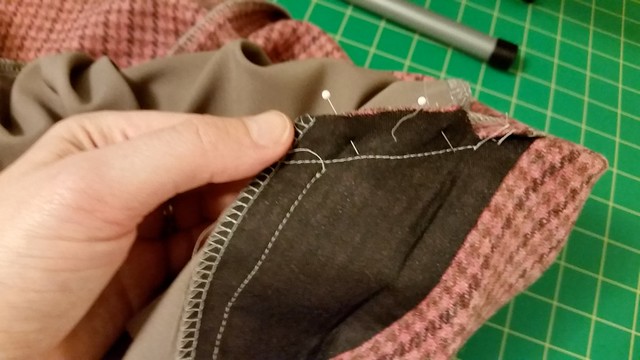
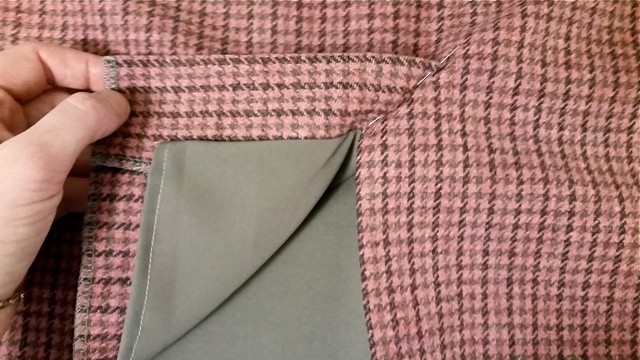
- · Pre-Finish rounded edge of each pocket bag for 3” near side seams.
- · Sew pockets to skirt side seams 3/8”. Pre-finish skirt side seams together with pocket bags.
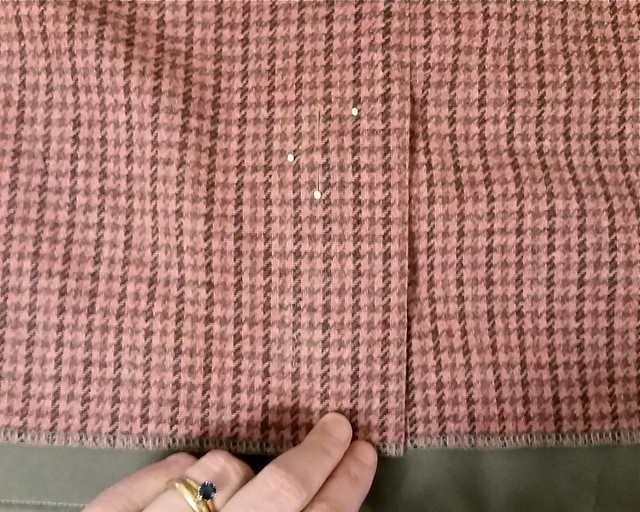
- · Stitch skirt side seams breaking thread at pocket opening.
- · Stitch pocket bags. Finish seam allowances together along curved edge. Press bags toward front and make bar tack at bottom of pocket opening through all layers. Do not clip back seam allowance. Press seams open towards hem.
- · Stitch back darts and front pleats.
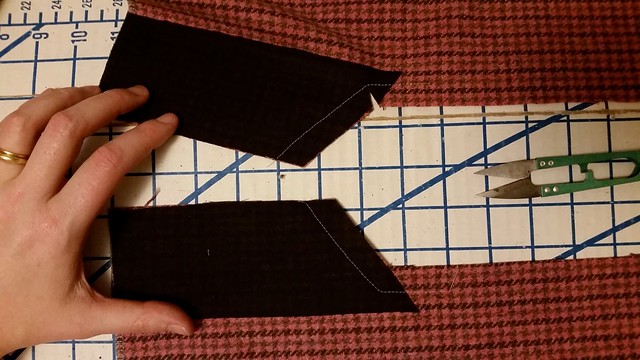
- · Pre-finish center seam allowances on front & back skirt.
- · Skirt will be in 2 sections, right and left.
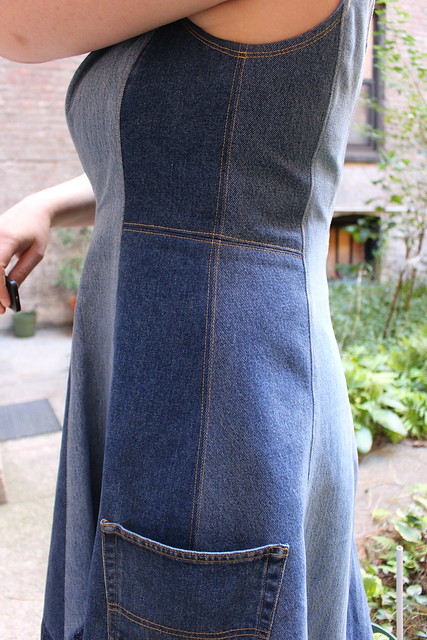
Prepare Bodice
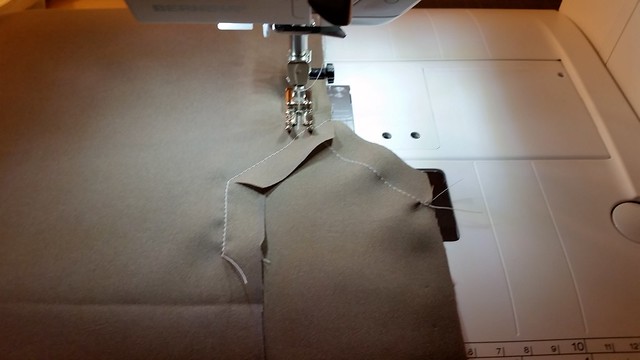
- · Stay stitch back neckline.
- · Sew bodice darts/pleats; front & back.
- · Finish front neckline edges. 5/8” hem allowance: fold 5/8”, fold raw edge to meet 1st fold. Press and single needle topstitch.
- · Baste shoulder seams, side/underarm seams of bodice.
- · Pre finish CB seam allowance.
- · Bodice will be in 2 sections, right and left
Prepare Skirt
- Baste skirt
pieces together at centers; baste to bodice check fit. Adjust as needed.
I reduced the bodice at the side/underarm seams, and the reduced the skirt by deepening the skirt dart and pleat intake. Later I also reduced at the CB seam on bodice and skirt, which decreases the neck width slightly.
Permanently Assemble skirt and bodice
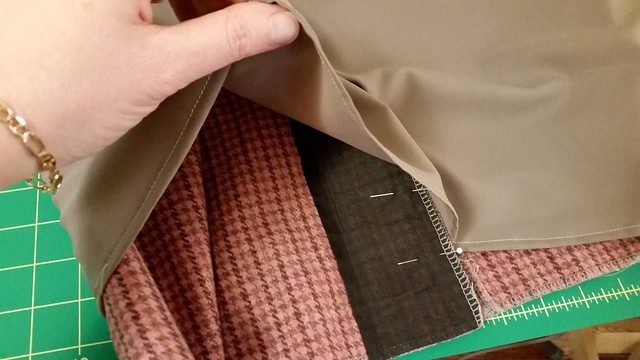
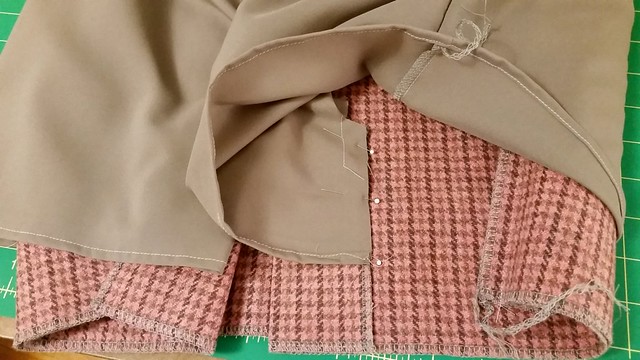
- · Permanently stitch shoulder/sleeve seams. Finish seam allowances together and press toward back.
- · Permanently stitch side/underarm seams. Double stitch at curve. Clip to stitch line at curve every ½”. Finish seam, press toward back.
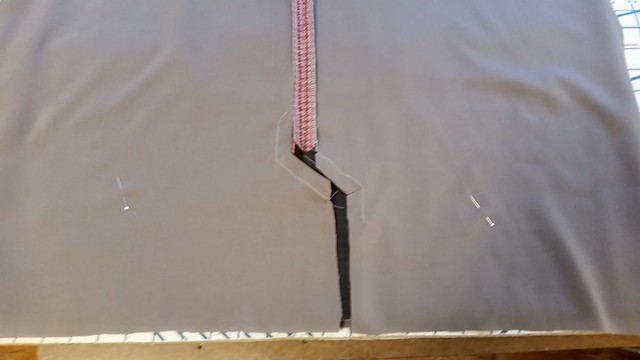
- · Permanently stitch the Skirt CF seam. Press open.
- · Permanently stitch bodice to skirt at waist seam. Serge to finish seam allowances and press down. SNES to secure.
- · Permanently stitch CB seam. Press open. Tack seam allowances open at waist seam.
- · Finish back neckline with self bias; under-stitch and ¼” SNTS.
- · Hem sleeves: Fold ¼”, fold again 1”. SNTS at edge of fold.
- · Hem Skirt: 5/8” hem allowance: fold 5/8”, fold raw edge to meet 1st fold. Press, SNTS.
Finishing:
- · Optional: Assemble waist tie / self belt: stitch wrong sides together, turn, press, SNES.
- · Add thread chain belt loops to side seams at waist.
- · Add hook and eyes to inside of CF neckline above waist seam as desired.